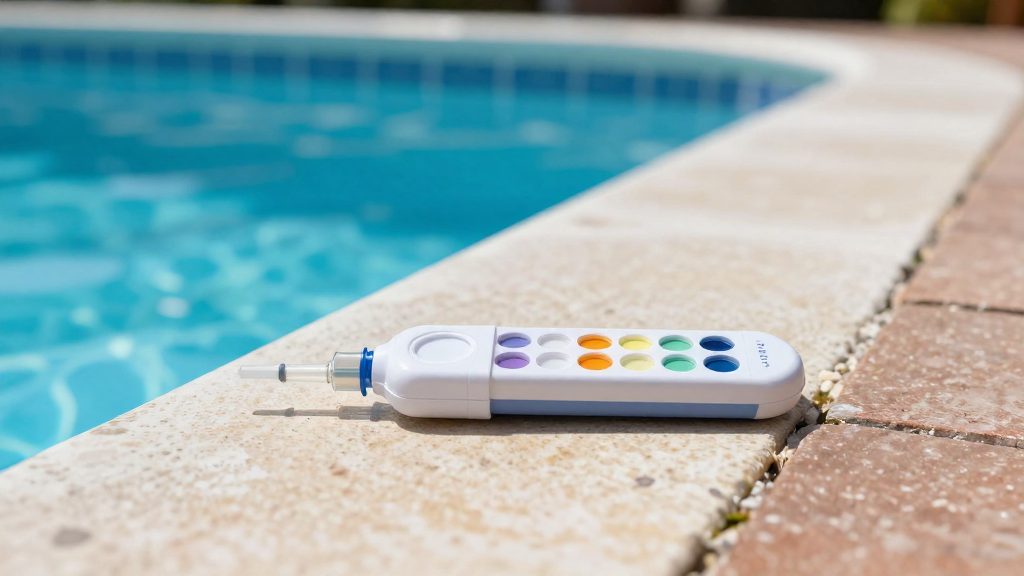
What Key Chemical Parameters Must You Test?
Maintaining a safe and clear swimming pool requires monitoring several specific markers. These parameters ensure that the water remains sanitary, the equipment is protected from corrosion, and the water is comfortable for swimmers.
The most immediate concern is the sanitizer level, typically measured as free chlorine. This ensures that pathogens are neutralized and the water remains hygienic. Alongside this, the pH level must be monitored to ensure the water is neither too acidic nor too alkaline, which affects both swimmer comfort and the efficiency of the chlorine.
To maintain stability in these readings, you must also track the supporting chemistry:
| Parameter | Primary Purpose |
|---|---|
| Total Alkalinity | Acts as a buffer to prevent rapid pH swings |
| Calcium Hardness | Prevents plaster erosion or scale buildup |
| Cyanuric Acid | Protects chlorine from being degraded by sunlight |
While free chlorine and pH are the most volatile and require frequent checks, alkalinity and calcium hardness change more slowly but are essential for long-term water balance. For outdoor pools, cyanuric acid acts as a stabilizer, ensuring your sanitizer remains active despite UV exposure.
How to Collect a Pool Water Sample Correctly
To obtain accurate results, you must ensure the water sample is representative of the entire body of water. The process begins with proper water circulation. Ensure the pool pump has been running for a sufficient period before collecting your sample to avoid testing stagnant water that does not reflect the actual chemistry of the pool.
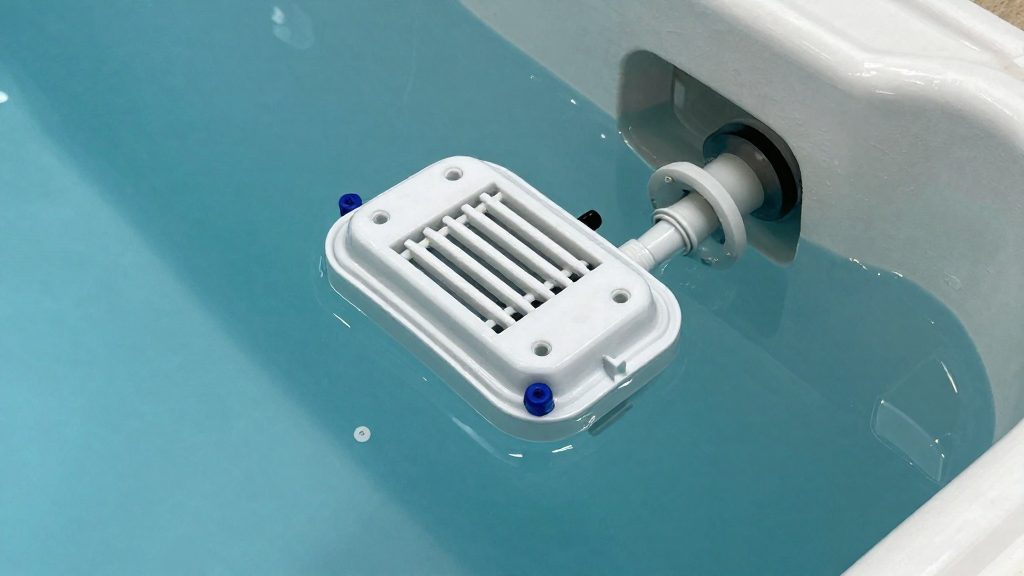
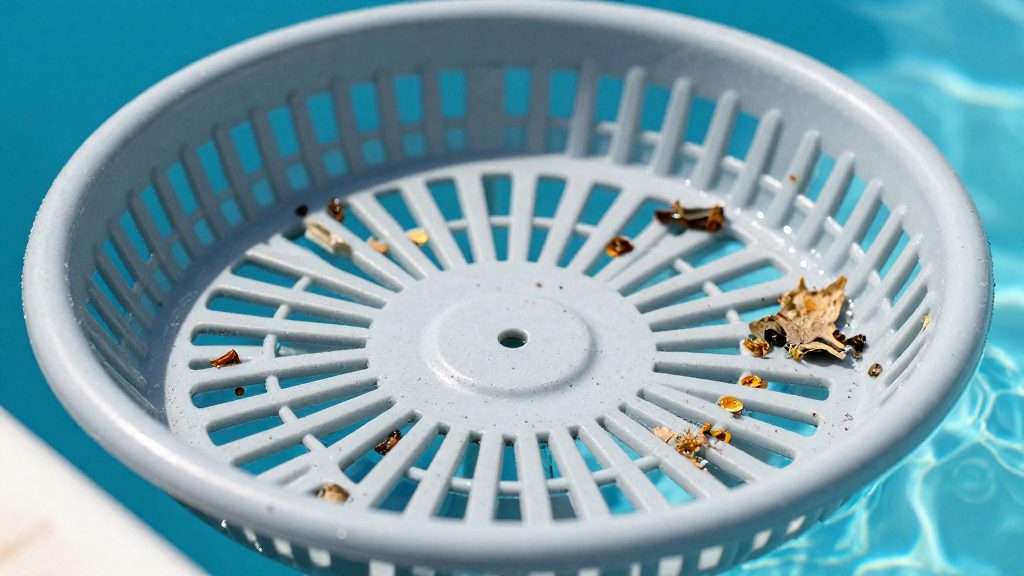
When selecting the collection point, avoid areas where water is being actively introduced or removed. Specifically, stay away from return jets, skimmers, and chemical dispensers, as these locations often contain concentrated chemicals or air bubbles that can skew your readings.
The technique used to capture the water is just as important as the location. To avoid surface contaminants and oils, collect the sample from a depth roughly elbow-deep.
| Step | Action | Purpose |
|---|---|---|
| 1 | Run the pump | Ensures a homogeneous chemical mix |
| 2 | Move away from jets | Avoids concentrated chemical pockets |
| 3 | Submerge container | Prevents surface contamination |
| 4 | Invert and flip | Captures water from the same depth |
By following these collection techniques, you maintain the integrity of the sample, ensuring that the subsequent analysis provides a factual basis for your dosing adjustments.
Which Testing Method Is Best for Your Pool?
Selecting the right testing method depends on your need for speed versus the need for precision. Different tools offer varying levels of accuracy, which influences how you manage your water chemistry.
| Method | Best For | Key Characteristic | Accuracy Level |
|---|---|---|---|
| Test Strips | Quick checks | Multi-parameter convenience | General |
| Liquid Kits | Routine maintenance | Reagent-based comparison | High |
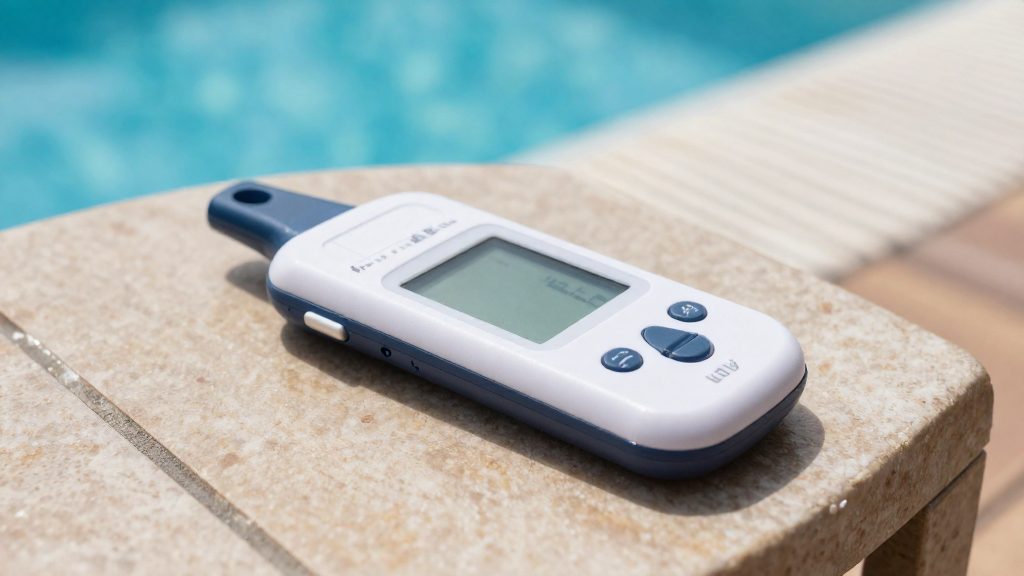
| Digital Photometers | Professional management | Electronic light measurement | Very High |
Test strips are ideal for those who prioritize convenience. They provide a rapid overview of multiple parameters simultaneously, making them suitable for frequent, basic monitoring. However, they can be sensitive to storage conditions and may offer less granular results.
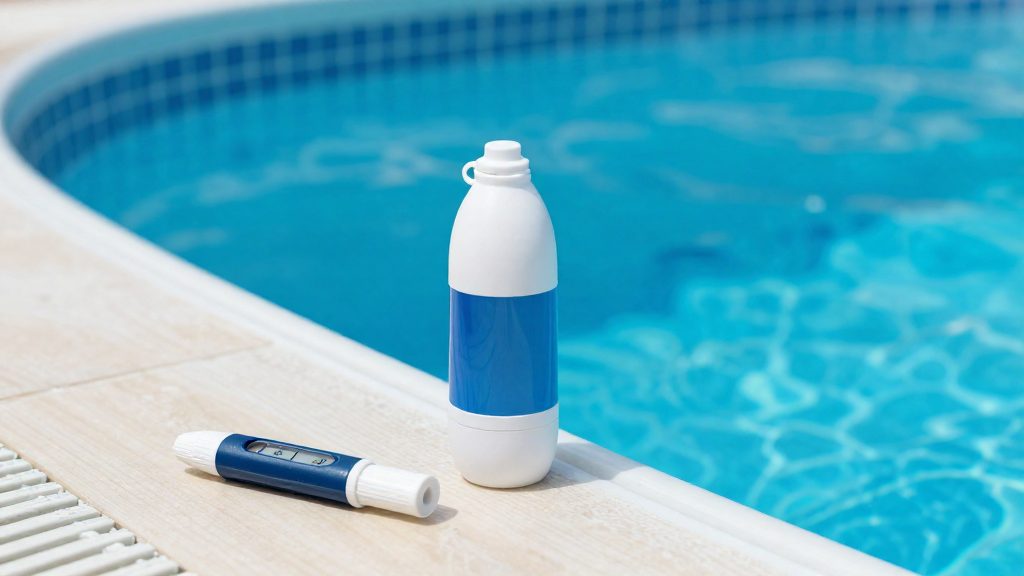
Liquid reagent kits are the preferred choice for owners who want more reliable data. By using drops to trigger a color change in a comparator, these kits provide a clearer reading of specific levels, reducing the guesswork associated with color matching on a strip.
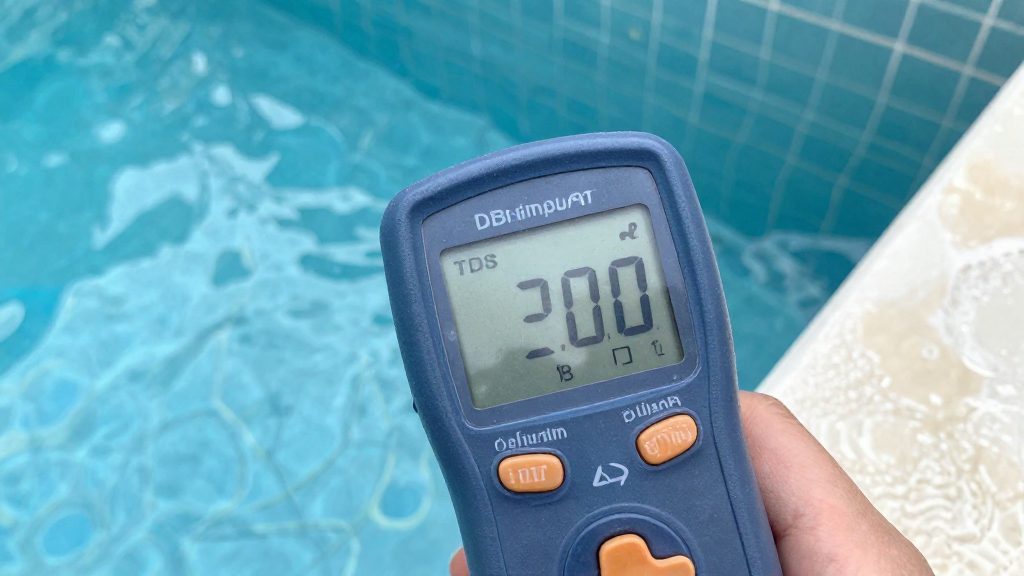
For those managing complex water chemistry or large volumes, digital photometers remove human error from the equation. These devices use sensors to measure light absorbance, providing a precise digital readout.
How to Test Pool Water with Test Strips
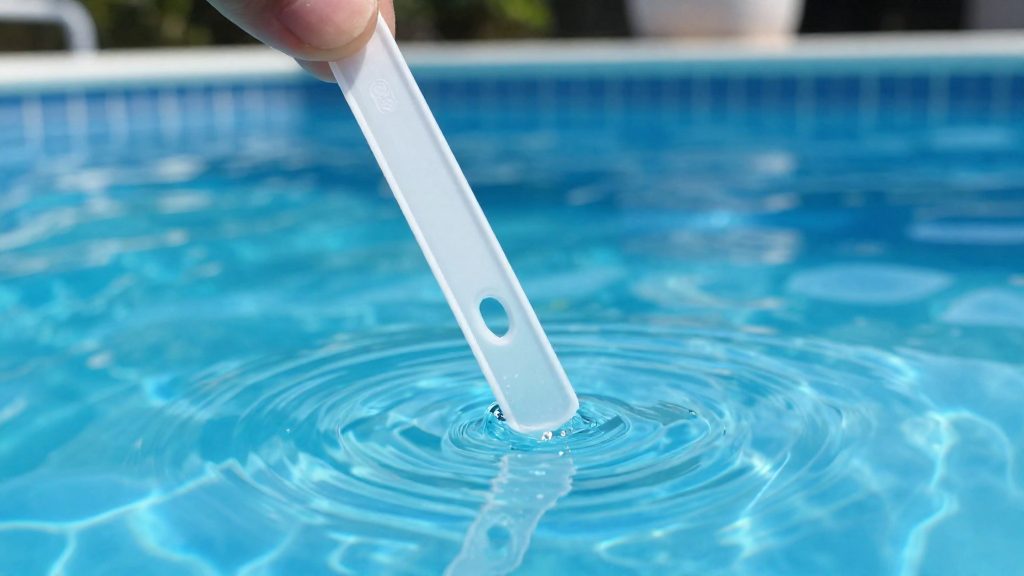
Test strips are a popular DIY method for monitoring water quality due to their speed and ease of use.
| Step | Action | Purpose |
|---|---|---|
| 1 | Dip | Submerge the strip quickly in the water sample. |
| 2 | Remove | Pull the strip straight out of the water and hold it level. |
| 3 | Wait | Allow the reagents to react for the time specified on the packaging. |
| 4 | Compare | Match the pad colors against the provided color chart. |
Once the colors develop, compare them to the chart to evaluate your free chlorine and pH levels. These parameters should be checked several times per week to maintain stability. Other indicators, such as total alkalinity and calcium hardness, require less frequent monitoring.
To maintain a healthy environment, use these test strips to identify when your water chemistry drifts outside the ideal ranges, allowing you to apply the necessary corrections promptly.
How to Test Pool Water with a Liquid Reagent Kit
Liquid reagent kits, often referred to as drop kits, provide a higher level of precision than test strips. These kits use chemical reagents that react with specific elements in the water to produce a color change, which is then compared against a standardized color chart.
To get an accurate reading, follow these procedural steps:
| Step | Action | Purpose |
|---|---|---|
| 1 | Collect a sample | Use an inverted container to gather water from below the surface, away from return jets. |
| 2 | Fill the vial | Pour the sample into the kit’s same-sized vial up to the indicated fill line. |
| 3 | Add reagents | Add the specified number of drops of the reagent into the water sample. |
| 4 | Mix and compare | Cap the vial, shake gently, and hold it against the color comparator to identify the result. |
By using liquid comparators, you can more reliably monitor your water chemistry and determine the exact dosing required to maintain a balanced environment.
When and How Often Should You Test Your Pool Water?
Maintaining a healthy swimming pool requires a consistent testing schedule to prevent algae growth and ensure swimmer comfort. The frequency of these tests depends on which chemical parameters you are monitoring.
While some levels fluctuate rapidly, others remain stable for longer periods. To keep your water balanced, follow these general guidelines:
| Parameter | Recommended Testing Frequency |
|---|---|
| Free Chlorine and pH | Multiple times per week |
| Total Alkalinity | Weekly to monthly |
| Calcium Hardness | Weekly to monthly |
Beyond the calendar, you should perform additional tests after heavy rainfall, extreme weather events, or periods of high bather load, as these factors can quickly deplete sanitizer levels and shift the pH.
How to Interpret Test Results and Balance Water Chemistry
Once you have collected your sample, compare the results against the established target ranges for your specific installation. Interpreting these results requires a systematic approach, as different parameters often influence one another.
The primary goal is to maintain water balance, which prevents equipment corrosion and ensures the effectiveness of your sanitizer. If a result falls outside the ideal range, apply the corresponding corrective chemical in small increments. Always allow the water to circulate fully before re-testing to verify that the adjustment was successful.
| Parameter | Target Range (Pools) | Target Range (Spas/Hot Tubs) |
|---|---|---|
| Free Chlorine | 1.0 to 3.0 ppm | 3.0 to 5.0 ppm |
| pH | 7.2 to 7.6 | 7.2 to 7.6 |
| Total Alkalinity | 80 to 120 ppm | 80 to 120 ppm |
| Calcium Hardness | 200 to 400 ppm | 200 to 400 ppm |
| Cyanuric Acid | 30 to 50 ppm | N/A |
When adjusting chemistry, prioritize total alkalinity first. Because alkalinity acts as a chemical buffer, adjusting it directly alters the pH; balancing alkalinity before pH prevents pH bounce and the waste of chemicals. Once alkalinity is within the target range, address the pH level to ensure optimal sanitizer performance and protect the pool surface.
Frequently asked questions
How often should I test my pool water?
You should check your free chlorine and pH levels at least two to three times every week. Other markers, such as calcium hardness and total alkalinity, only need to be monitored on a weekly or monthly basis.
Where is the best place to take a water sample?
Collect the sample away from skimmers, chemical dispensers, and return jets to avoid skewed results. Dip your container elbow-deep, roughly 12 to 18 inches below the surface, and turn it upright underwater.
Why is my pH level fluctuating so much?
This is often due to an imbalance in total alkalinity, which serves as a buffer for your water. Maintaining this level helps prevent rapid shifts in pH, ensuring the water remains stable and comfortable.