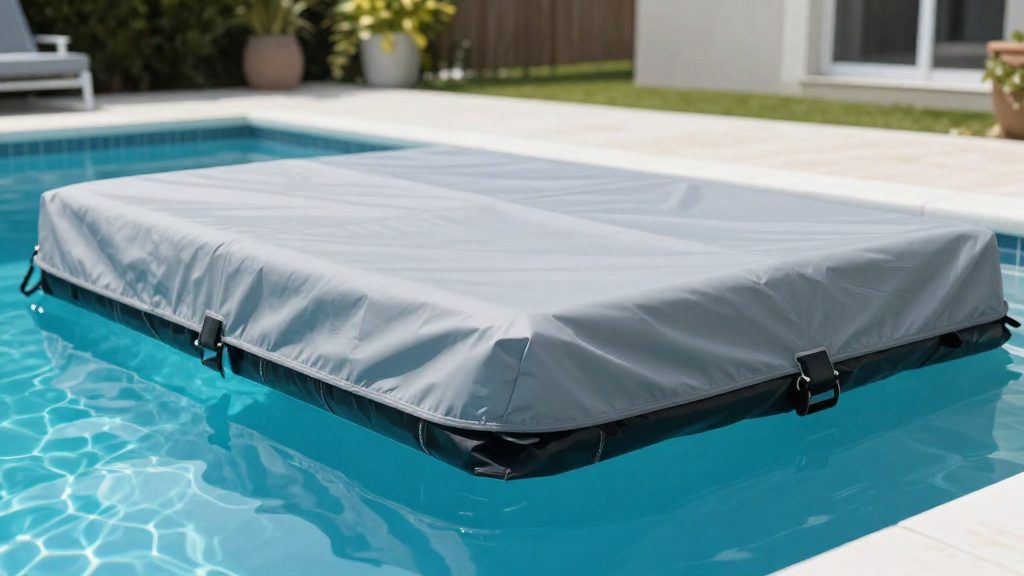
When Should You Winterize a Saltwater Pool?
Timing the closure of your saltwater pool is a matter of monitoring the water temperature to ensure the chemistry remains stable. Closing too early can lead to unnecessary maintenance issues, while waiting too long may leave your equipment vulnerable to the first freeze.
The primary goal is to avoid a window where the water is warm enough to support biological growth but too cold for your equipment to function. You should wait until the water temperature consistently drops below the threshold of 60°F to 65°F.
Starting the winterization process at this specific point helps in two ways:
- Preventing rapid chlorine consumption: In warmer water, chlorine dissipates more quickly, forcing you to use more chemicals to maintain sanitation.
- Off-season algae growth prevention: By closing once the water has cooled, you significantly reduce the risk of algae blooms that typically occur when warm water is left stagnant during the same period.
| Condition | Impact on Saltwater Pool | Recommended Action |
|---|---|---|
| Water above 65°F | High biological activity and chlorine demand | Keep filtration and sanitation active |
| Water between 60°F and 65°F | Reduced biological activity | Begin winterizing a saltwater pool |
| Water below 60°F | Minimal algae risk; equipment efficiency drops | Complete closure and equipment protection |
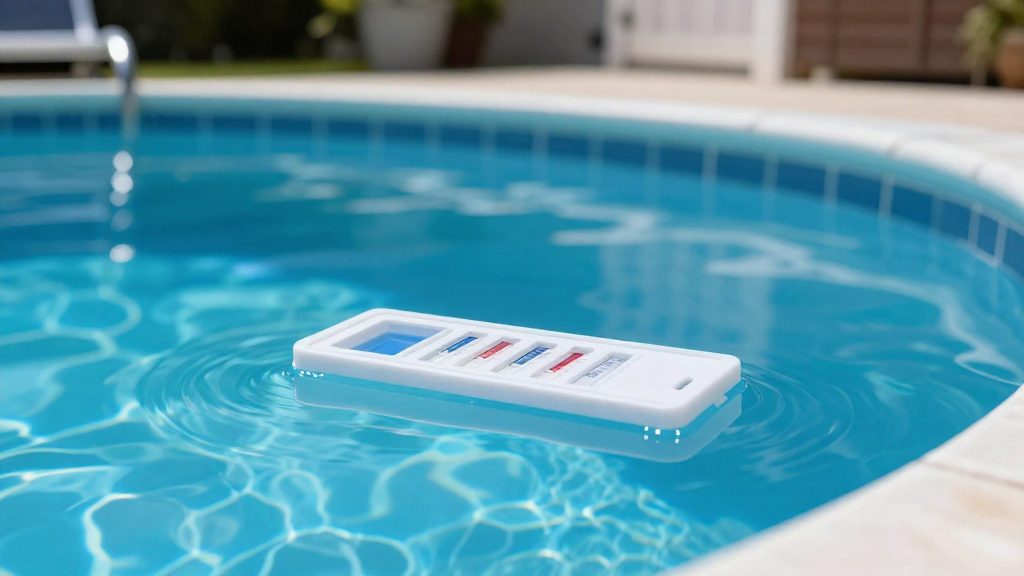
Testing and Balancing Saltwater Pool Chemistry
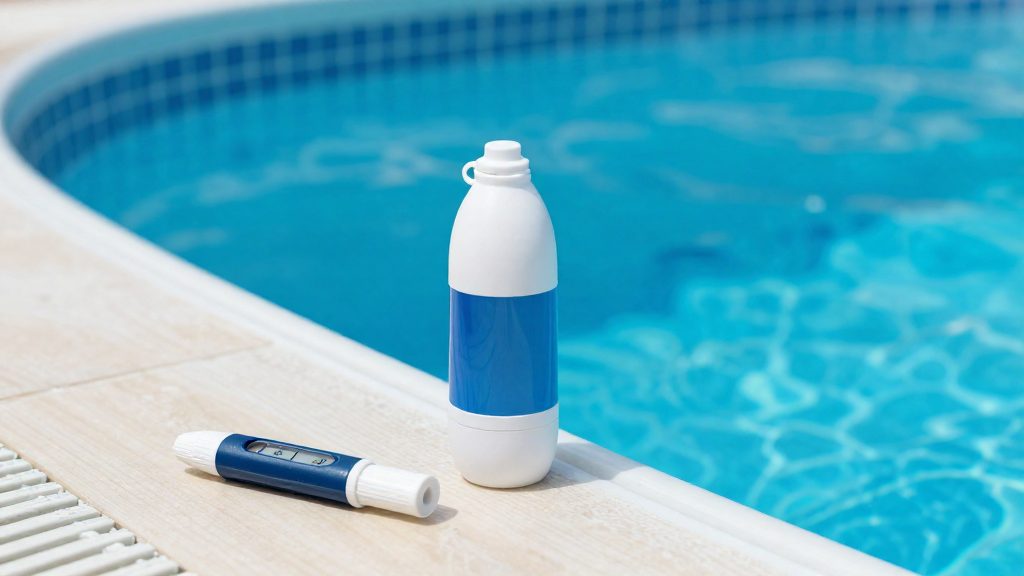
Before closing your saltwater pool, you must ensure the water is chemically stable to protect the pool surfaces and plumbing from degradation during the off-season. Start by verifying the pH level and total alkalinity to prevent scaling or corrosion. It is also necessary to check the calcium hardness, as maintaining a balanced level protects the pool liner or plaster from leaching.
When managing your salt levels, avoid adding salt immediately before closing. Cold water reduces conductivity, which often leads digital sensors to report false low-salt readings. Instead, focus on balancing the primary chemistry parameters before adding your winter closing chemicals.
| Parameter | Goal for Winterizing | Purpose |
|---|---|---|
| pH | 7.2–7.6 | Prevents surface scaling and metal corrosion |
| Total Alkalinity | 80–120 ppm | Stabilizes pH levels before adding closing chemicals |
| Calcium Hardness | 200–400 ppm | Protects pool surfaces and equipment |
Once the water is balanced, you must prepare the pool for the dormant season. Run the filtration pump for a full cycle to ensure the water is well-mixed before proceeding to the chemical dosing and equipment removal stages.
How to Clean, Inspect, and Store the Salt Cell
Before closing your pool for the season, you must address the salt cell to prevent permanent damage and ensure efficiency for the following spring. Over time, calcium deposits accumulate on the titanium plates, which can hinder chlorine production.
Cleaning and Inspection
Begin by removing the salt cell from the plumbing line. To remove accumulated scale, use a dilute muriatic acid solution or a dedicated cell cleaner. This process dissolves mineral buildup, restoring the plates to their optimal state. Once cleaned, inspect the plastic housing for any signs of wear or stress fractures.
Storage and Protection
Leaving the salt cell in the plumbing during winter exposes it to the risk of freeze-induced cracking. To protect the equipment, follow these storage steps:
| Step | Action | Purpose |
|---|---|---|
| Removal | Disconnect the cell from the system | Prevents exposure to freezing water |
| Bypass | Install a dummy pipe or winter plugs | Maintains plumbing integrity |
| Storage | Move the cell to a climate-controlled indoor area | Avoids extreme temperature fluctuations |
By prioritizing the indoor storage of the cell and performing a thorough mineral cleaning, you extend the lifespan of your equipment and simplify the reopening process.
Draining, Blowing Out Plumbing, and Adding Antifreeze
To protect your saltwater pool from freeze-induced damage, you must remove water from the plumbing lines to prevent expansion and cracking. Lower the water level only once, immediately prior to blowing out the lines. Typically, the water level is lowered 3–6 inches below the skimmer for solid covers, and 12–18 inches below the skimmer for mesh covers.
Once the water level is lowered, use a blower or a shop vacuum to evacuate the remaining water from the pipes. This process, known as blowing out the lines, ensures that no pockets of water remain where they could freeze. After the lines are cleared, introduce a non-toxic propylene glycol pool antifreeze into the plumbing. This liquid serves as a safeguard for any residual moisture that the blower could not remove.
To finalize the seal, use rubber expansion plugs and skimmer guards to prevent debris or groundwater from entering the system.
| Step | Action | Purpose |
|---|---|---|
| Lowering | Reduce water level below skimmers | Prevent water from entering lines |
| Evacuation | Use a blower or vacuum | Remove standing water from pipes |
| Treatment | Add propylene glycol | Prevent freezing in residual pockets |
| Sealing | Install expansion plugs | Block debris and external water |
By focusing on plumbing freeze protection, you ensure that your pipes and equipment remain intact throughout the cold season, avoiding costly repairs during the spring reopening.
How Much Shock and Algaecide Should You Add Before Closing?
Since your salt chlorine generator will be powered off for the season, you must manually treat the water to maintain sanitation. This step must be completed before lowering the water level or blowing out the plumbing lines.
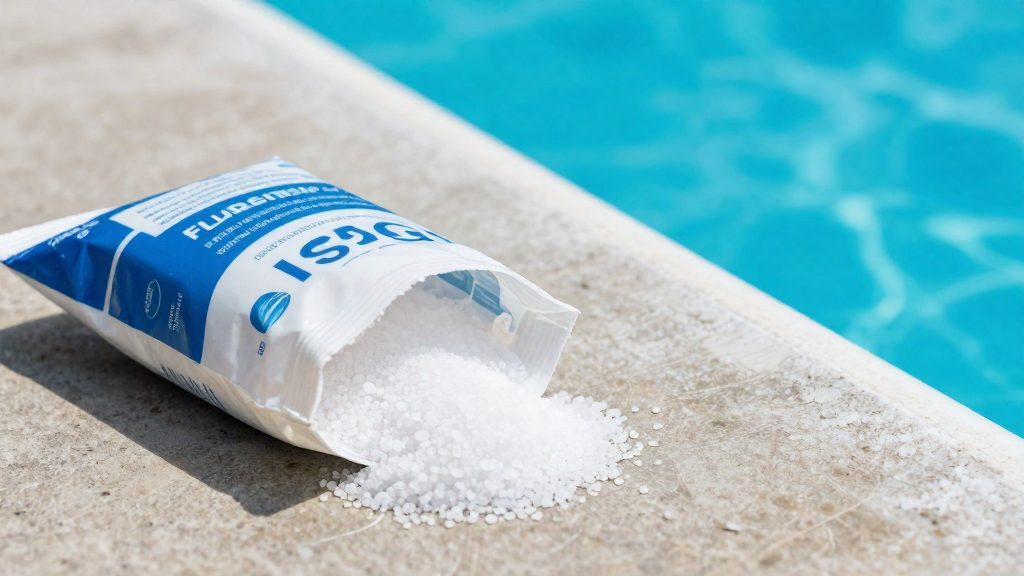
To ensure a clean reopening, apply a shock treatment using either liquid chlorine or non-chlorine shock. This process eliminates remaining contaminants and prevents organic buildup while the system is dormant. Following the shock, add a non-copper winter algaecide to inhibit spore growth during the colder months.
The following table outlines the general approach for these closing chemicals:
| Chemical | Purpose | Application Method |
|---|---|---|
| Shock | Sanitizes water and kills bacteria | Manual addition of liquid or granular product |
| Algaecide | Prevents algae blooms | Non-copper formula added to the water |
| Sequestering Agent | Prevents mineral scaling | Added to stabilize water chemistry |
Once these products are added, you must run the filtration pump continuously for 12 to 24 hours to ensure the chemicals are distributed evenly throughout the water column and the plumbing lines before you proceed to drain and plug the system.
Installing the Winter Cover and Securing Equipment
Once the water chemistry is balanced, the pool is shocked, and the plumbing is evacuated, the final step is to protect the pool surface and the sensitive components of the saltwater system.
Address the pool surface by selecting a cover based on your specific needs:
| Cover Type | Primary Function | Best For |
|---|---|---|
| Solid Cover | Maximum debris protection | High-leaf areas |
| Mesh Cover | Water drainage and breathability | Areas with low wind/debris |
Secure the cover tightly using straps or water bags to ensure it remains taut. This prevents heavy snow or rain from pooling in the center, which could pull the cover into the water or damage the pool edges. Finally, double-check that all rubber expansion plugs are firmly seated in the return lines to prevent leaks and freeze-induced pipe bursts.
Frequently asked questions
When is the best time to start closing my saltwater pool?
You should begin the process once the water temperature consistently stays below 60°F to 65°F. This timing prevents rapid chlorine loss and reduces the risk of algae blooms during the off-season.
Should I add more salt to the pool before winterizing?
No, you should avoid adding salt immediately before closing because cold water lowers conductivity, which can lead to false low-salt readings from your digital sensors.
How do I protect my salt cell during the winter?
The salt cell should be removed from the plumbing and stored in a climate-controlled area to prevent the plastic housing from cracking due to freezing.